
This material concept has been my favorite to create because of it’s versatility.
The same fundamental technique can be used to create stylized, arcade-y water, photorealistic water, and everything in between.
The main node that drives this process is the is Single Layer Water Material node.
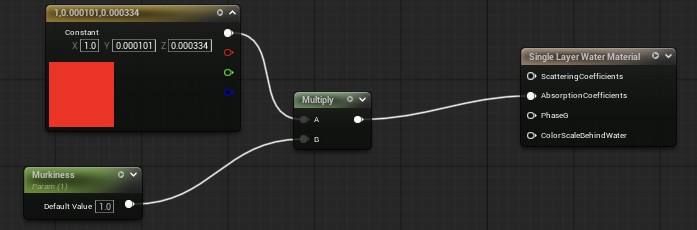
The Single Layer Water Material Node takes a parameter for the AbsorptionCoefficients (vector3). The reason why the parameter is red and not blue, is because water absorbs red light, and reflects blue light. The shade of red can be changed, to achieve different water colors.
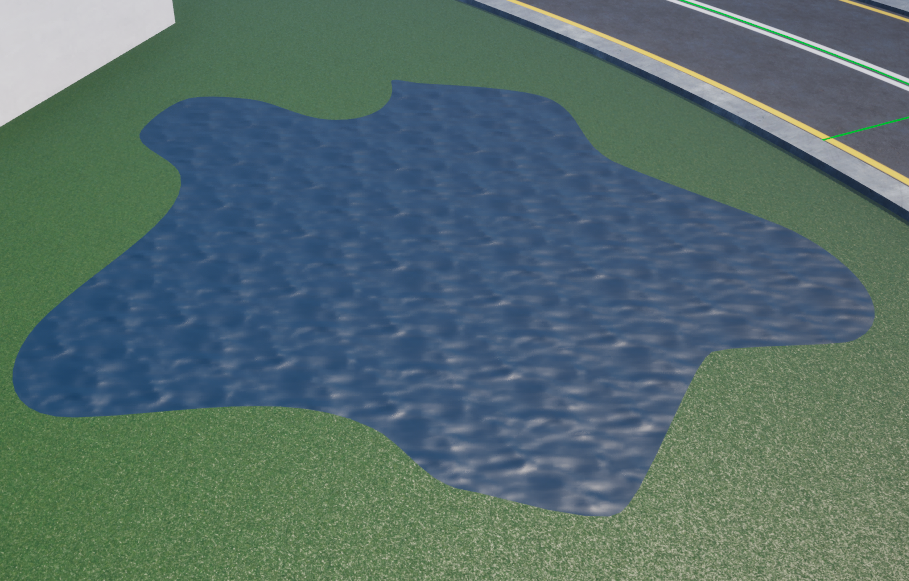
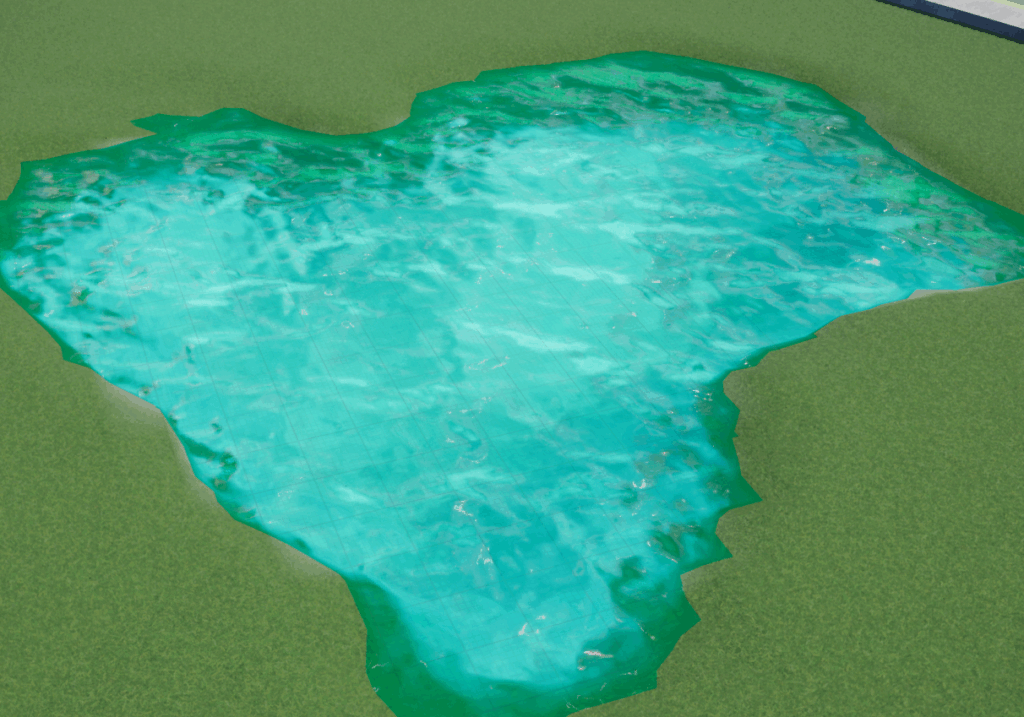
This is a before and after comparison of the water in the level.
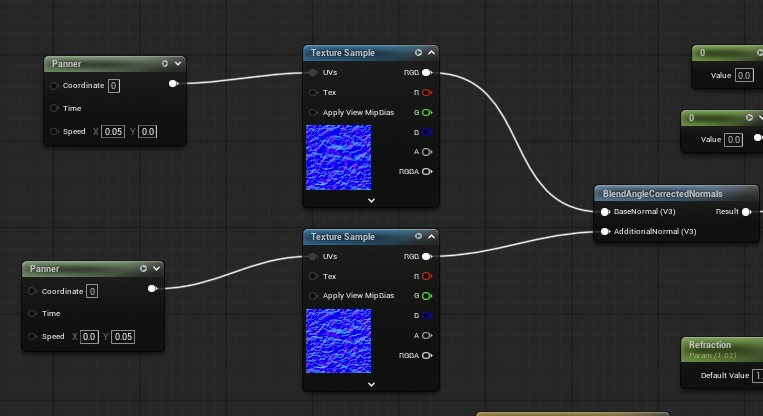
Another major component of the water shader is the Panner node. This is what allows texture samples to be animated. In a water shader, the waves and ripples are created by the normal map.
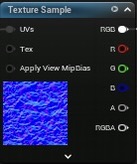
This normal map is included with the Unreal Engine starter content.
To achieve 2D waves, you use 2 normal maps with 2 panner nodes. (One in the X and one in the Y direction)
The setup looks like this.
Here are some valuable tips when creating Water Shaders in Unreal Engine:
- Use refraction carefully. Refraction can be performance-heavy, so only add it where it really matters.
- Use simple normals for performance. Complex normal maps can look nice but can be heavy if overused across large water surfaces.
Detailed setup will be included in the video below.
Insert video here..
Again, I am still learning, this is just what has helped me. If anybody has any feedback, reply below.
Leave a Reply